
We here at Insanitek value the pleasure and passion behind gaining knowledge. We don’t think life should be about stuffing information into your head for a test while skipping over the purpose of the information. That’s why we made this apprenticeship firm. It’s also why we build learning around projects: the project provides the structure, and the lessons fit within it.
Your kid wants to make an outfit with lights, gadgets, and enough pockets to actually be useful. This is a thing: people sew circuits into clothing and bags to make wearables that light up. You may not know how to sew the outfit or make the electronics work, but that doesn’t have to end the conversation. There’s a project taking shape, with sewing, circuitry, design, and plenty of troubleshooting inside it. That’s where problem-based learning comes in. Your learner has something they want to accomplish, and you help them find their way through it
A project can grow out of a real-world problem the kids notice or something they want to make. Their idea provides the motivation. We act as mentors, helping them find resources, ask questions, and learn what they need as the project develops. The Buck Institute for Education put the bigger goal this way::
Project Based Learning (PBL) prepares students for academic, personal, and career success, and readies young people to rise to the challenges of their lives and the world they will inherit.
Homeschoolers are in a great position to make this approach their own. You can build around your learner’s interests, your family’s needs, and the education you dreamed of giving them. That doesn’t mean unlimited time, money, or no stress. It means the pre-made curriculum doesn’t have to make every decision for you. Books, worksheets, and internet research can support the project rather than define its limits. Below is how we’ve been using this approach with unschoolers and more traditional schoolers. Feel free to borrow from our classes.
You don’t have to know everything before you start. If your learner wants to make really cool outfits with technology built into them—and actual, useful pockets—you can help them find sewing resources, explore what a Raspberry Pi could do, and figure out where to begin. You’re not expected to become an expert in everything overnight. You’re helping them find their way through the project.
The flow is this:
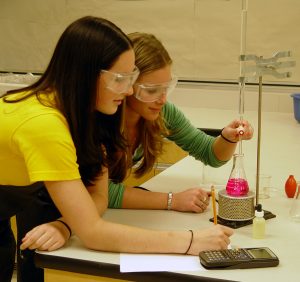 Find a need.Start with something your learner wants to make, do, or improve. It might be something for themselves, something the family needs, or something that would benefit the community. The scope can grow with their experience, but even a young learner can contribute to something beyond themselves. If they need entertainment, for example, they might choose a sport they want to try. That interest can lead into its history, the culture surrounding it, and the body mechanics involved in playing.
- Ask more questions. Help them explore the questions that grow out of their idea. What do they already know? What are they curious about? What do they need to figure out to move forward? You might point them towards the history, culture, or body mechanics of their chosen sport, but you don’t have to turn every possible connection into an assignment. As learners gain experience, give them more room to develop their own questions and follow their curiosity.
- Use the real world examples and pose challenges. Give them room to work with the practical details, too. If they want to build a model bridge, help them look at real bridges and consider what theirs needs to do. What gap does it need to cross? What load should it hold? What materials can they use? You can assign pretend costs to the materials and let them work within a budget. Now they have design decisions to make, not just instructions to follow.
- After Action Review (or analyse and reflect). When the fun is over, the fun continues by having them assess how they did. What worked? What didn’t? Did the result do what they wanted it to do? Even young learners can talk about what they liked, what surprised them, or what they would change next time. More experienced learners can dig into the style, functionality, costs, and how well the project met the original need. Help them look at the results, not just whether they enjoyed making it. If their model bridge held less weight than they expected, what might explain that? What could they change and test?
- Revision and release. We’ve all tried our cooking, then added a dash of seasoning before serving it. This is very similar. After analysing the project, the learner makes any revisions needed, then shares it with the intended audience. That might mean serving the meal to the family, giving someone a handmade gift, or letting someone try the game they designed. The point isn’t to make it perfect before anyone sees it. It’s to give them a chance to use what they discovered during the review. Feedback from the person using it may give them ideas for another round of improvements, too.
See how perfect this is for homeschooling?!
OK, nerding out about pedagogy aside, we’ve had a few questions come up while using this approach. You may be wondering about some of the same things.
Q: What kind of projects can I use this with?
A: Almost anything your learner wants to make, do, investigate, or improve. Look for something they can ask questions about, work through, and then try out or share. That might produce an object, a service, or findings from an investigation. It doesn’t have to become a gift for someone else to count—the learner can be the person who uses it.
Ex: Craft projects to give away, a meal for the family, a model bridge for a landscaping pond, custom game content, an app, an organisation project for a friend or family member, or a citizen science investigation. Group projects through 4-H or Scouts can work, too. The useful question is not “Does this look enough like school?” It’s “What does my learner want to accomplish, and what can we explore along the way?”
Q: Is it safe?
A: That depends on the project and how you approach it. Choose tasks that fit your learner’s experience, and decide what needs adult supervision before you start. Read the directions and any relevant safety information—including Safety Data Sheets (SDS) for chemicals—then follow them. If a task is beyond your equipment or experience, scale it down or get qualified help. Learning when to ask for help is part of the project, too.
Ex: Investigating why the yard is looking icky. Learners might collect soil samples, send them for analysis, and use the results to explore what the soil needs. Before using a test kit or applying soil amendments, check the instructions and precautions together and work out how to approach each task
Q: How much time and money do I need to commit to this?
A: That depends on the project, your learner’s experience, and what you already have available. Work out the scope together: what do they want to accomplish, what resources will they need, and how much time and money can you put towards it? You can start with a smaller version and build from there.
Ex: Helping a young learner make a game with shapes will usually need fewer resources than helping an experienced learner redesign the church’s landscaping. But a more advanced project doesn’t automatically mean a bigger bill. A learner interested in programming might start with a computer they already have, library books, and free tutorials. The cost comes from what the project needs, not simply how advanced the learner is.
A project doesn’t always begin with a fully formed idea. Sometimes it begins with playing around, noticing something unexpected, and wondering what else you could do with it. The quick workshops in our shop can give you a starting point for that exploration. Use one to help develop an existing idea, or let it introduce something unfamiliar and see what questions emerge. You don’t have to steer every question towards a project. Make room for the exploration, help your learner follow the connections, and ride the wave when something catches their imagination.
Over to you. Any questions you’d have about adding some project based learning to your homeschool?
 And get more free resources from our library while you’re at it.
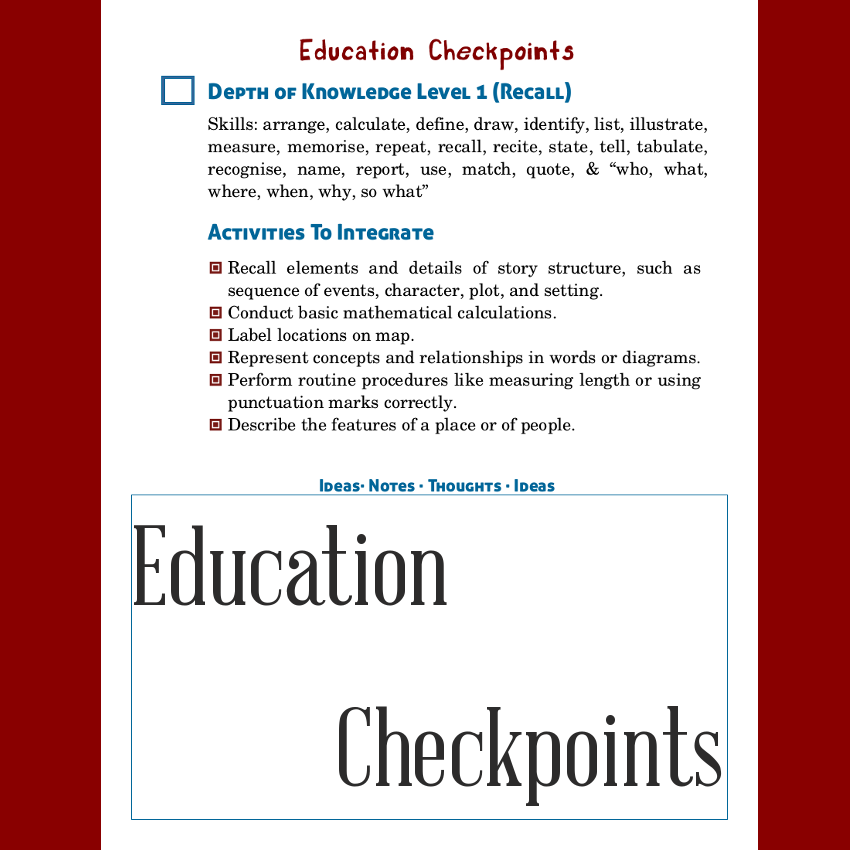
Drop your email below to get the depth of learning checklist we use. This starts with asking what our standards are to reach (state standards are different from job standards), then developing a lesson plan to go from simple recall all the way to discussing like a college student and guidelines to become an expert in their own right.