Fractions are one of those tricky things that people take a little bit to get used to. While you could use anything lying around, such a fruits and vegetables, it’s often hard for the kids to manipulate them because of their size. Also, if you wanted to travel or do fractions outside… it’s impractical to use most things we have just lying around.
 We also tried nails and screws, but the sharp ends made us wary and the kids had a hard time telling them apart occasionally. Similarly with nuts and bolts.
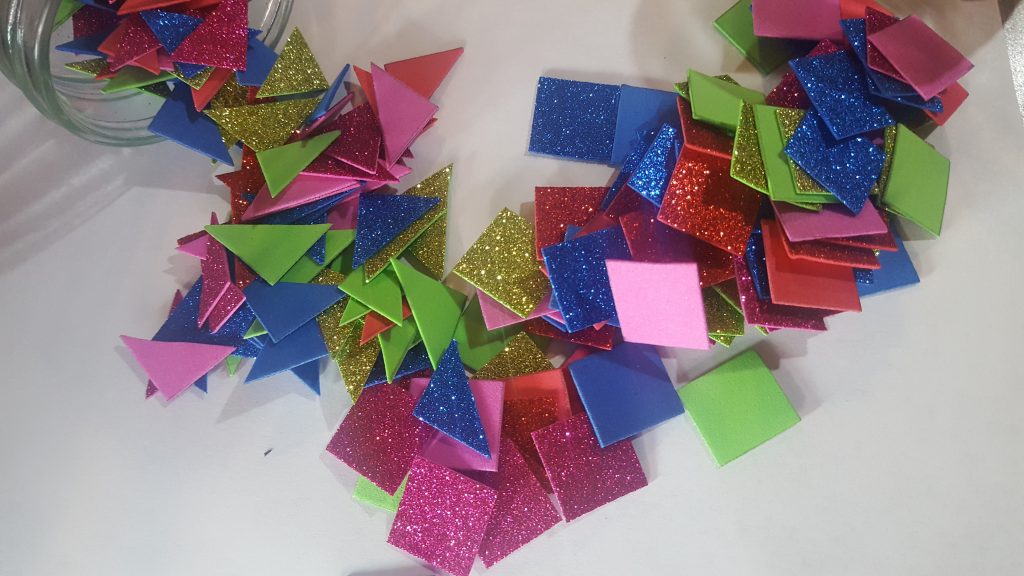
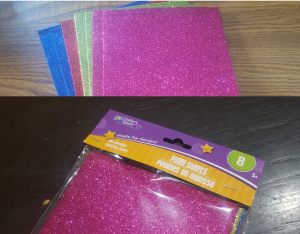
We decided to use coloured foam because it’s small, light, and portable while also being different enough to each other that they can be easily divided. Because they come in packs with four colours at the dollar store made them even more appealing. After the kids are done with fractions? They use them to decorate things. We see that as a pretty useful win.
And the fact that there are four colour options, all that glitter, seems to go over pretty well with both the boys and girls. Honestly, the only down side is cleaning glitter up off the floor for months after the lessons.
Here’s how it rolls here:
 Normally we’d have the kids helping in order to learn/practise how to read a ruler, but none of our students are starting fractions any time soon. When you use this method, it’s a great time to integrate the skill of reading rulers and even a bit of art.
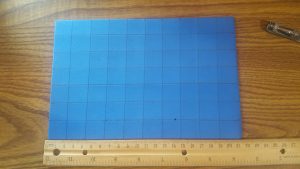
First, have the kids draw a mark on each side of the foam sheet at the same distance. Then, have them draw a line connecting them. This usually shows the student the need to double-check measurements as the lines often slope. If this happens, have them recheck their measurements – and measure the dimensions of the foam sheets to find out where the problem is.
This is how we start no matter what shape we are trying to cut just to make sure they are relatively uniform.
Why? Because in the past we’ve had to sit through smart kid’s having long discussions on whether a particular piece is in the same group because it was a different size circle. After a few times of this, you quickly learn how to work around it to save time in the co-op meetings.
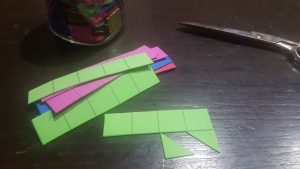 From there you can keep it simple by leaving it as squares or making triangles. You can get fancy by rounding the corners to make circles. I’ve even had people make hearts, stars, and other designs. Store like with like in small jars and use it as you need.
Metacognition: Observation, reflecting, creativity.
Now that you have a bunch of little shapes in different colours, using these for fractions is easy. Options:
- Out of a whole
- Mixed numbers
- Adding and subtracting
Shaping reality with your own hands
You can use the shapes or colours for the easiest combination for beginners. Here are two examples
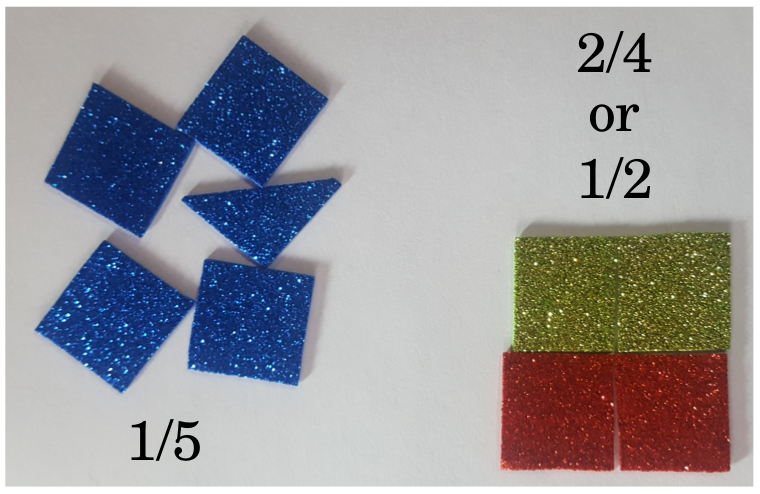
Notice how the 2/4 and 1/2 is easy to see? That’s because it’s tactile. Not only can they see it, but they can touch it and manipulate the shapes to get more from the shapes.
But using shapes really shines through when you get to mixed numbers.
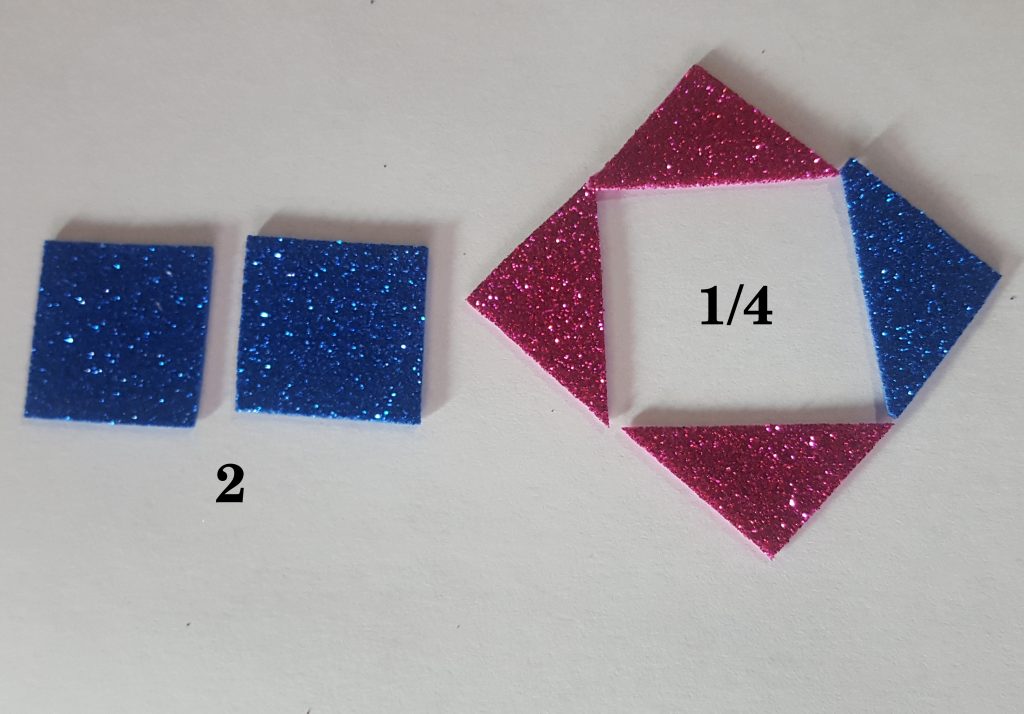
Do you see how the squares and triangles mesh? You can arrange the triangles to outline a square. And the triangles when put together make two squares.
We’ve found that these subtle cues help young students see the mixed fractions easier.
And what about adding and subtracting? This gets a little trickier, but it’s still easy to illustrate when you think of fractions in terms of wholes.

Of course, you could just as easily say the gold is the fractional part and the red is “of the whole” to get the end result in gold squares, but you get the point.
The rest? That’s up to your imagination. How do you teach fractions? Any portable tips that you want to share in the comments?